Chewy Gluten-Free Peanut Butter Oatmeal Cookies (One Bowl)
2026-09-08
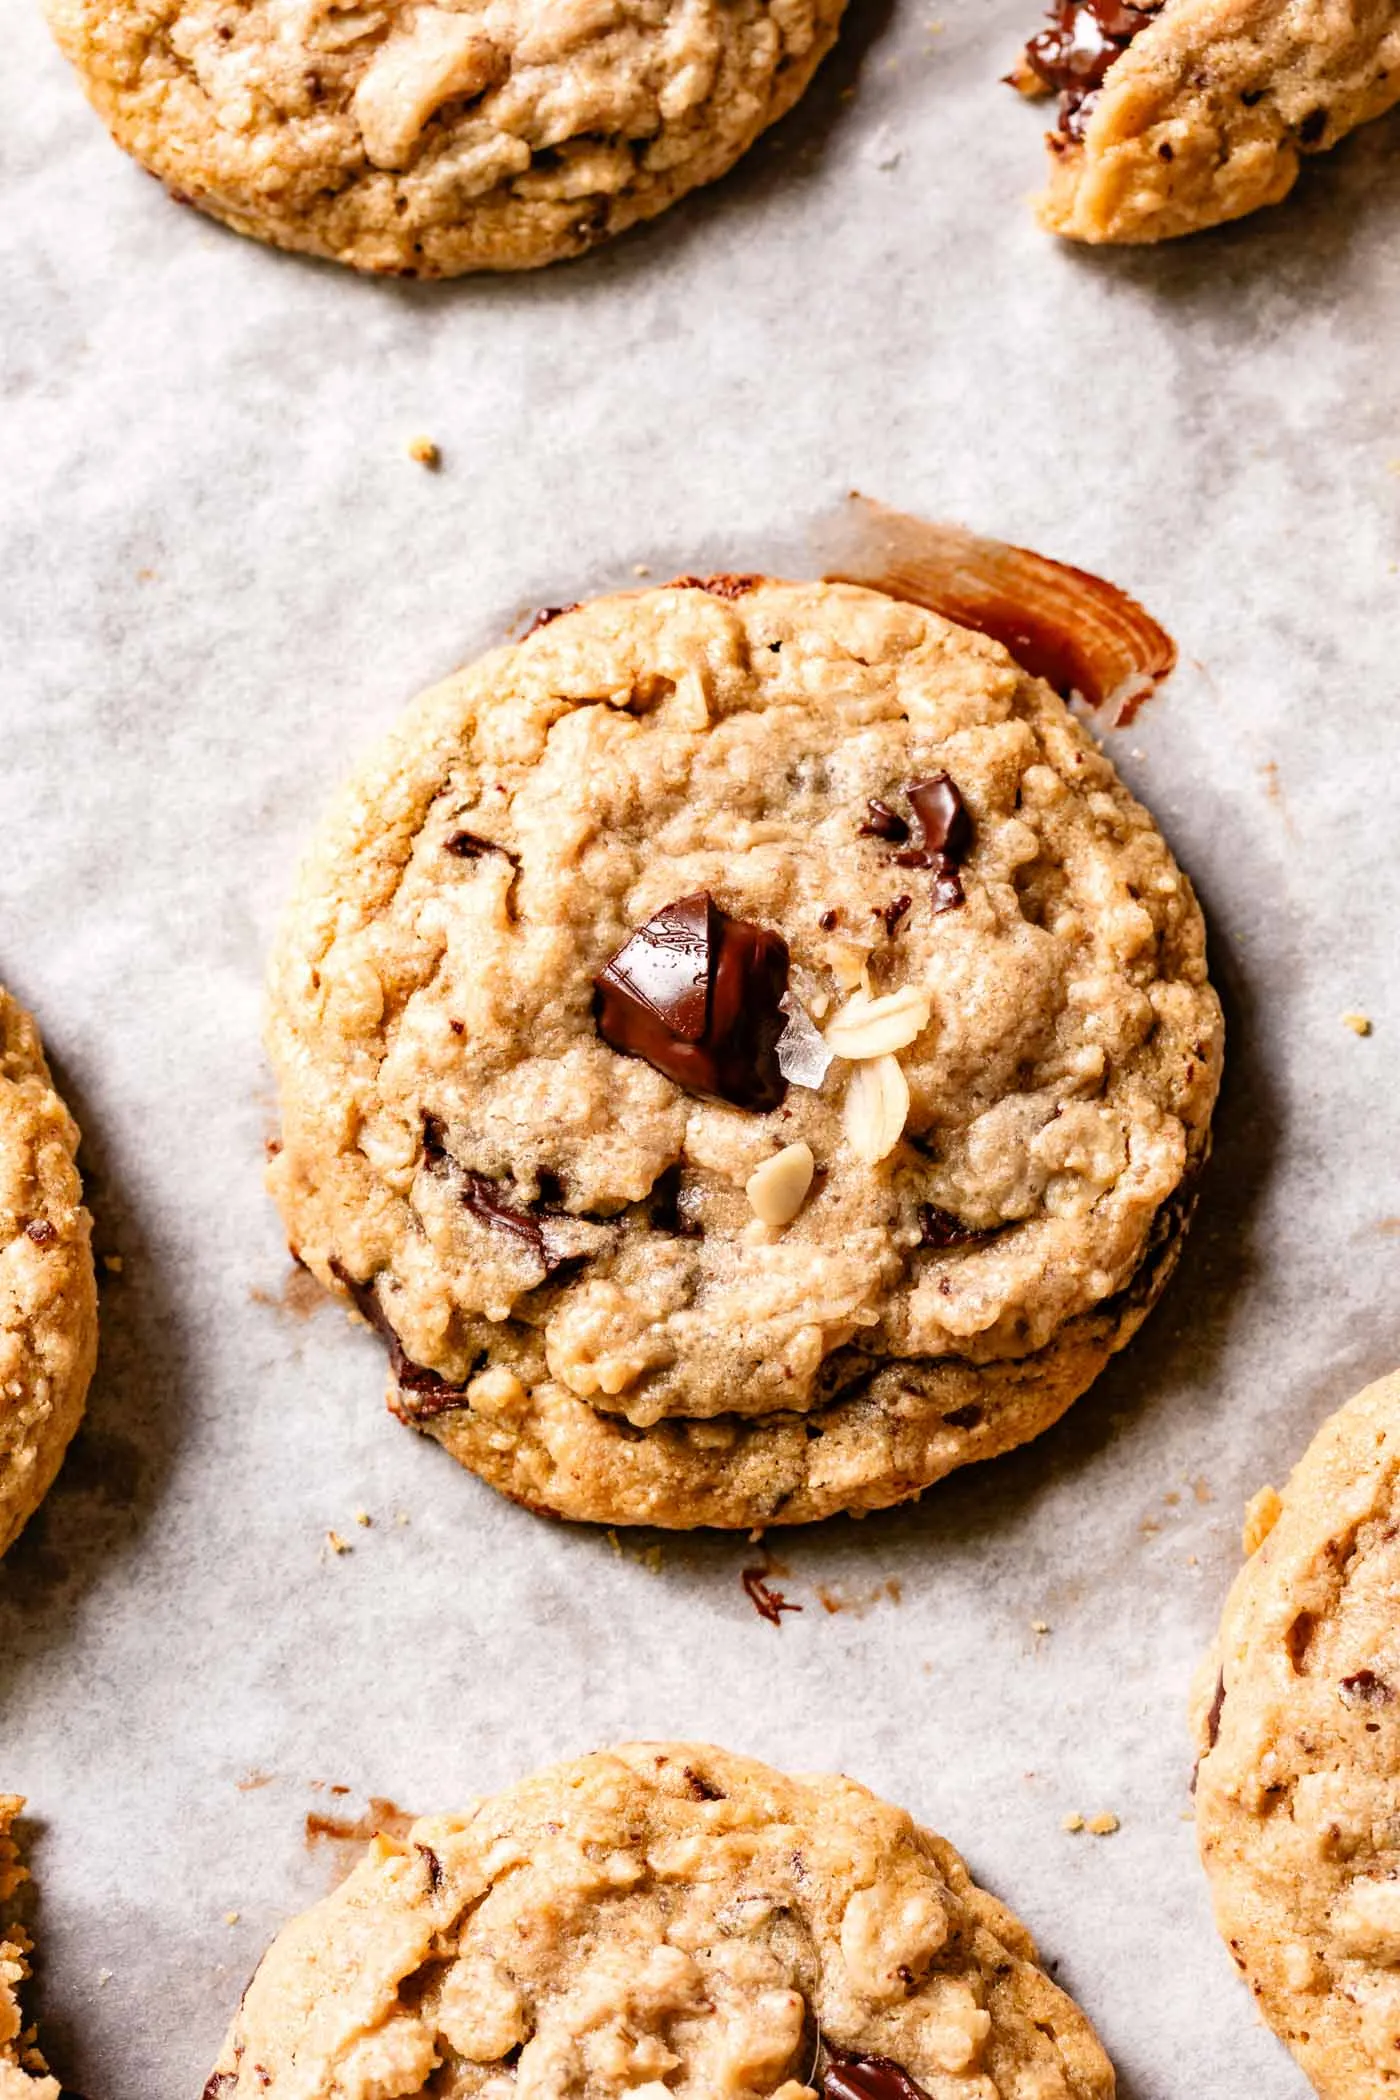
I made three batches of these cookies yesterday, and my kitchen still smells like toasted peanuts and brown sugar.
If you've tried making gluten-free peanut butter cookies with all-natural peanut butter, you've probably noticed they tend to dry out into chalk by the next morning. Most recipes cheat by using commercial spreads like Jif or Skippy, which are loaded with hydrogenated oils and stabilizers. But real peanut butter is just ground roasted peanuts and salt. It separates in the jar, and those peanut proteins soak up every drop of liquid in your mixing bowl like a dry sponge.
The secret to getting thick, chewy centers with crisp edges is ridiculously simple: don't scoop the dough right away.
Stir your dough together in one bowl, then leave it alone on the counter for 10 minutes. That short rest gives the rolled oats time to absorb the melted butter and maple syrup before hitting the hot pan. When they bake, the cookies hold their shape, the rims turn golden and crunchy, and the centers stay tender and soft for nearly a week.
Quick Baker's Tips
- Stir the jar thoroughly: Natural peanut butter separates as it sits. Take a butter knife and stir that pool of oil at the top all the way down to the bottom of the jar until the butter is completely uniform.
- Certified gluten-free oats: Oats don't naturally contain gluten, but commercial oats are almost always processed on lines that handle wheat. Buy oats specifically marked "Certified Gluten-Free" if you have celiac disease.
- Don't overbake: Pull the sheet pan out of the oven the moment the edges turn golden brown. The centers should still look soft and underdone. Leaving them on the hot baking sheet for 10 minutes after baking finishes cooking the middle gently.
Ingredients
I always measure baking ingredients in grams using a small kitchen scale—it is way faster than washing measuring cups and guarantees your cookies turn out identical every time. If you use cups, spoon the flour into your cup and level it off with a knife, or convert measurements using our Cups to Grams Converter.
- Natural creamy peanut butter: 250g (1 cup), stirred until smooth
- Unsalted butter, melted: 55g (1/4 cup)
- Dark brown sugar: 100g (1/2 cup, packed)
- Granulated white sugar: 70g (1/3 cup)
- Pure maple syrup: 15g (1 tablespoon)
- Large egg: 1, at room temperature
- Vanilla extract: 1 teaspoon
- Gluten-free 1-to-1 baking flour: 90g (about 3/4 cup, Bob's Red Mill 1-to-1 or King Arthur Measure for Measure work best)
- Certified gluten-free rolled oats: 100g (1 cup, old-fashioned whole oats)
- Baking soda: 1/2 teaspoon
- Fine sea salt: 1/2 teaspoon (use 1/4 teaspoon if your peanut butter is salted)
- Dark chocolate chips or chunks: 100g (about 1/2 cup), optional but recommended
Step-by-Step Instructions
-
Preheat your oven: Set your oven to 350°F (175°C) and line two large baking sheets with parchment paper.
-
Whisk the wet ingredients: Add the stirred peanut butter, melted butter, brown sugar, white sugar, and maple syrup to a large mixing bowl. Whisk vigorously for about two minutes until the mixture looks glossy and smooth. Crack in the egg and add the vanilla extract, whisking for another 30 seconds until completely combined.
-
Stir in the dry ingredients: Add the gluten-free flour, baking soda, and salt right into the same bowl. Stir with a sturdy wooden spoon or rubber spatula until the flour disappears. Fold in the rolled oats and chocolate chips. The dough will look soft and a little sticky right now—that is completely normal.
-
Rest for 10 minutes: Step away from the bowl and let the dough sit on the counter for 10 full minutes while the oven finishes heating. Don't skip this pause. The oats and flour will drink up the moisture, transforming the dough into a thick, scoopable texture that won't spread thin.
-
Scoop and flatten: Use a 2-tablespoon cookie scoop to portion dough balls onto your prepared baking sheets, leaving about 2 inches between them. Since gluten-free dough doesn't spread as aggressively as wheat dough, press each ball down with a fork into a 3/4-inch thick disc with a criss-cross pattern.
-
Bake: Bake for 10 to 12 minutes. At the 10-minute mark, check the edges. When the rims look set and golden, take them out immediately even if the centers look pale and puffy.
-
Cool on the pan: Leave the cookies on the hot baking sheet for 10 minutes without touching them. Hot gluten-free cookies fall apart easily. After 10 minutes, slide a spatula under each cookie and move them to a wire rack to cool down.
Storage Tips
- At room temperature: Store cooled cookies in an airtight container for up to 5 days. Put a small slice of sandwich bread in the container with them—the cookies will pull moisture from the bread and stay chewy all week long.
- In the freezer: Freeze baked cookies in a zip-top freezer bag with parchment between layers for up to 3 months. When you want a cookie, thaw it on the counter for 15 minutes or pop it in a warm toaster oven for 2 minutes.
- Selling or baking for profit: If you make these for farmers markets or a cottage bakery, calculate your ingredient overhead and wholesale prices with our free Bakery Profit Margin Calculator. And if you love spiced holiday treats, take a look at our Gluten-Free Biscoff Cookies recipe next.
Bake a batch, brew some coffee, and enjoy a real cookie that doesn't crumble all over your lap.
Baking or Selling This Recipe? Use Our Free Tools
Baking in Your Kitchen? Convert & Scale in Grams
Measuring cups can vary by up to 25% in flour weight. Convert cups to exact metric grams or scale this entire recipe (2x, 3x) in seconds.
Selling Custom Cakes? Price for Real Bakery Profit
Calculate ingredient food costs, packaging, and labor to set high-margin pricing for your home bakery or custom pastry orders.

Sara Ait Dahan
Professional Baker & Founder of Sweety's Bakery
Passionate about baking precision and culinary science, Sara founded Sweety's Bakery to empower home bakers and pastry chefs worldwide. Built from real bakery workbench experience, she creates tested gluten-free recipes, calibrated density calculators, and bakery business tools.